
Happy Monday, all!
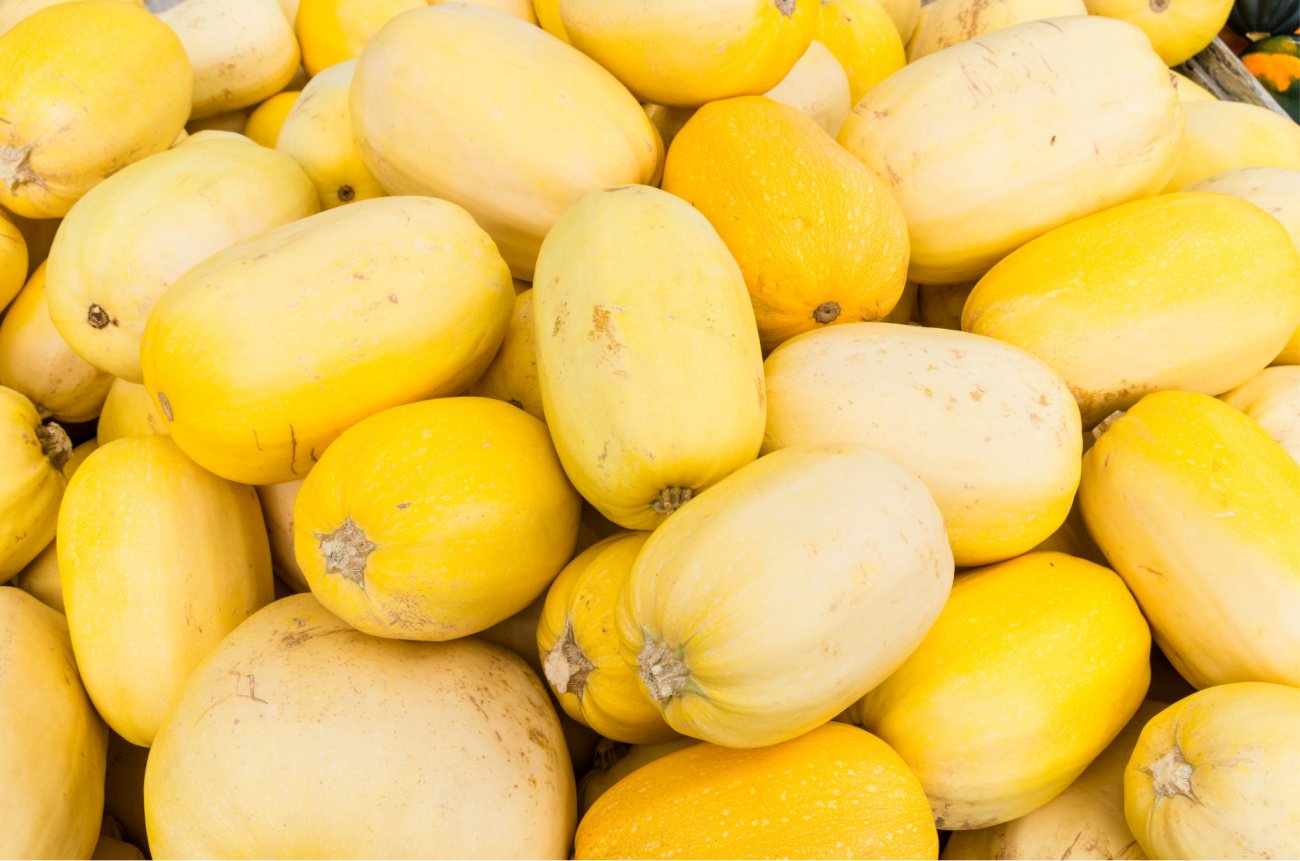
A few weeks back when I posted a Lemon Chicken Spaghetti Squash Casserole, I seemed to hit a nerve…a good one! Who knew spaghetti squash was trending, but it does seem to be a popular veggie that many of you are working into your menus. So when my daughter Grace found this recipe for a Spaghetti Squash Chicken Pot Pie, I had to give it a try.
Let me preface this recipe by saying that it’s very good and very easy to pull together. However, the one thing it’s missing is that delicious, flaky crust. But if a healthier version of a chicken pot pie is something you have a hankering for, give this one a try because you won’t be disappointed. This recipe is adapted from Mantitlement.com.

What You Need
- 5 cups cooked spaghetti squash (1 large spaghetti squash)
- 3/4 cup diced onion
- 4 garlic cloves, chopped
- 2 cups shredded chicken or browned ground turkey
- 2 cups frozen peas and carrots
- 10 ounces of button mushrooms, sliced
- 4 tablespoons of butter
- 4 tablespoons of flour
- 2 cups milk (I used 2% but the original recipe calls for whole milk)
- 1 teaspoon salt
- Fresh black pepper to taste
- 1 teaspoon poultry seasoning
- 1 teaspoon fresh rosemary, chopped
- 1/2 cup grated parmesan cheese, divided
- 1/4 cup Panko breadcrumbs (or another idea I’ve seen people use is tortillas to give a little of that crust texture to the casserole)
What You Do
- Preheat the oven to 400 degrees. Grease or spray a 9″ x 13″ baking dish.
- Melt the butter in a large skillet over medium-low heat.
- Add the onions, stirring into the butter and cook until the onions have completely softened, about 10 minutes.
- Stir in the garlic and cook one minute longer.
- Add the mushrooms, salt, pepper, poultry seasoning, and rosemary then cook until the mushrooms are browned, about 5 minutes.
- Stir in the frozen peas and carrots then add the flour and stir to combine. Cook for a minute while stirring, then slowly pour in the milk.
- Using a wooden spoon, scrape up the bottom of the skillet and stir the milk into the vegetables. Let the filling come up to a simmer and then let thicken for 3-4 minutes.
- Stir in the chicken and 1/4 cup of the parmesan cheese, then remove the skillet form the heat. Taste for seasonings and adjust if needed.
- Pour the filling into a large bowl along with the cooked spaghetti squash. Stir gently to combine the filling, then pour into your baking dish.
- Top the casserole with the remaining parmesan cheese and breadcrumbs then bake for 30 minutes.
- To brown the topping even more, place the casserole under the broiler for 3-4 minutes.
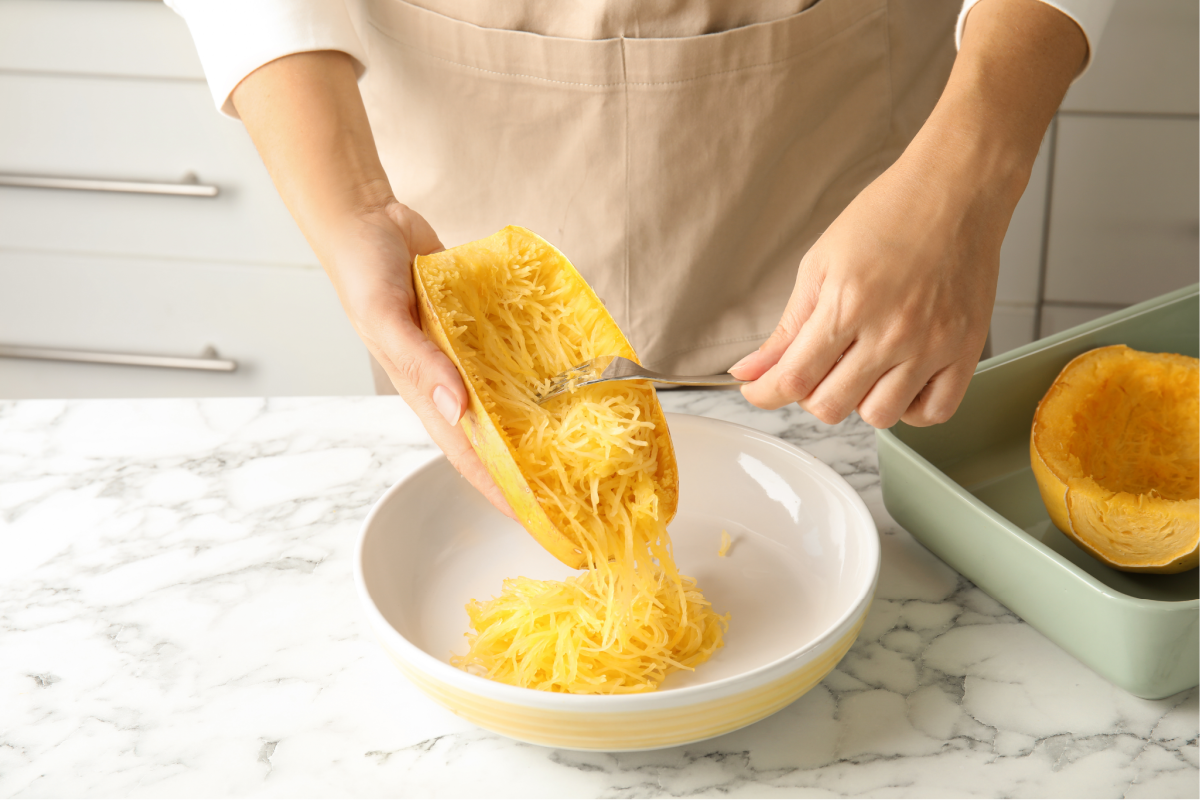
AMOTS Hack: Did you know that it’s easier to open a spaghetti squash if you microwave it first? I finally just tried this and it saved some muscle. To soften your squash, poke some holes in its exterior and then microwave it for 5 minutes. It will be so much easier to cut off the ends and slice in half to remove the seeds. I then season the halves with salt, pepper, and olive oil and bake face down on a baking sheet at 400 for 25 minutes.
Have a great week!
xo,


Love your tip about microwaving then baking. I always did one or the other. Totally makes sense!
I wish I could take credit for this tip…but was so happy to know it worked! I honestly would not try certain recipes because cutting the squash was so hard. 😉